Top Basic Podcast Audio Editing Tips: Elevate Your Sound Quality to the Next Level
The intended audience for this article is podcast creators, especially those relatively new to the field or those who are looking to improve their audio editing skills. If some of the concepts mentioned are unfamiliar to you, bookmark the page and come back to it as you start editing.
Producing a successful podcast extends beyond just recording engaging content; it also involves refining your sound through effective audio editing. Polished, well-edited audio can elevate your podcast from amateurish to professional, and that’s often the difference between listeners hitting ‘subscribe’ or moving on to another show. Poor sound can mean getting turned off before you’ve even finished a sentence.
You can significantly improve your podcast’s sound quality by implementing some basic audio editing tips. Even though audio editing can seem complex, just a few key steps can make a huge difference. Of course, if you choose, you can always spend much more time refining it further. Now, let’s dive into some key steps that will kickstart your journey to great audio editing for your podcast.
1. Understand the Basics of Your Audio Editing Software:
This may seem self-explanatory, but stay with me. Once you’ve chosen which DAW (digital audio workstation) you’re going to go with, learning your way around it, including keyboard shortcuts, will not only unlock your editing skills, it will save you more time than just about anything else you can do.
There are loads of free resources are available online, from YouTube tutorials to community forums, that can help you understand the basics. DAWs are often complex programs that you will only need to use for relatively simple tasks, so just focus on what you need, snipping, eq, levels, etc.. I suggest sticking to one DAW to begin with and learning the basic requirements for podcast editing before exploring any others. The open secret is it doesn’t really matter which one you choose.

2. Use a High-Pass Filter,
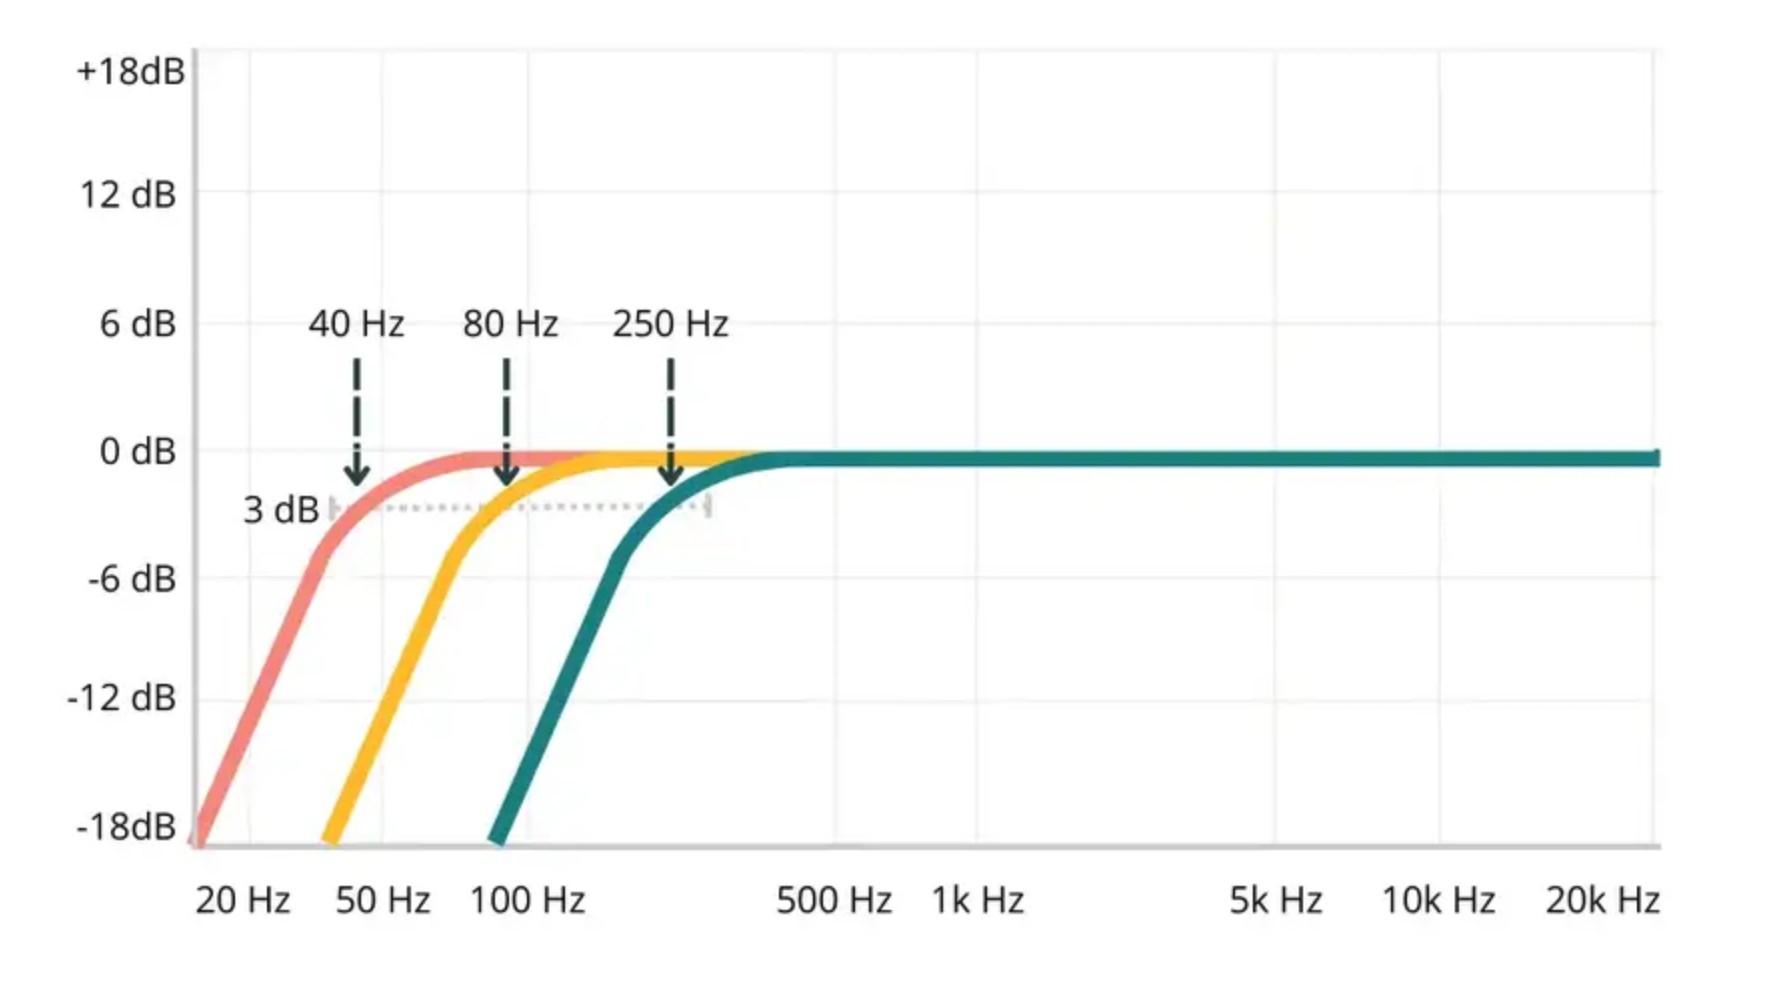
This is a type of EQ and a common audio tool used to cut out sounds below a certain level while letting the high frequencies through. I suggest applying it at approx. 80hz on all voice tracks as a start.
Why? Microphones pick up noise below the range of the human voice; you don’t want that junk in your recording. It’s a low muddy sound that contains nothing valuable for your pristine podcast sound. Lose it! Just google how to do it for your software of choice. Don’t be scared. It’s easy!
3. Check Your Levels!
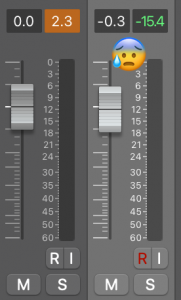
You want your different voices to be all roughly the same volume. Balancing sound levels is crucial. There’s a reason it’s called mixing. The decibel level meters on each track are your friend. They show the highest volume the audio reached during a playback. Reading these numbers are a great place to start.
Why? It’s obviously no good to have a loud and quiet voice in the same discussion. A steady even volume that doesn’t have us reaching for the volume to hear what’s being said is pretty fundamental. A tool that’s often used for this purpose is:
4. Compression
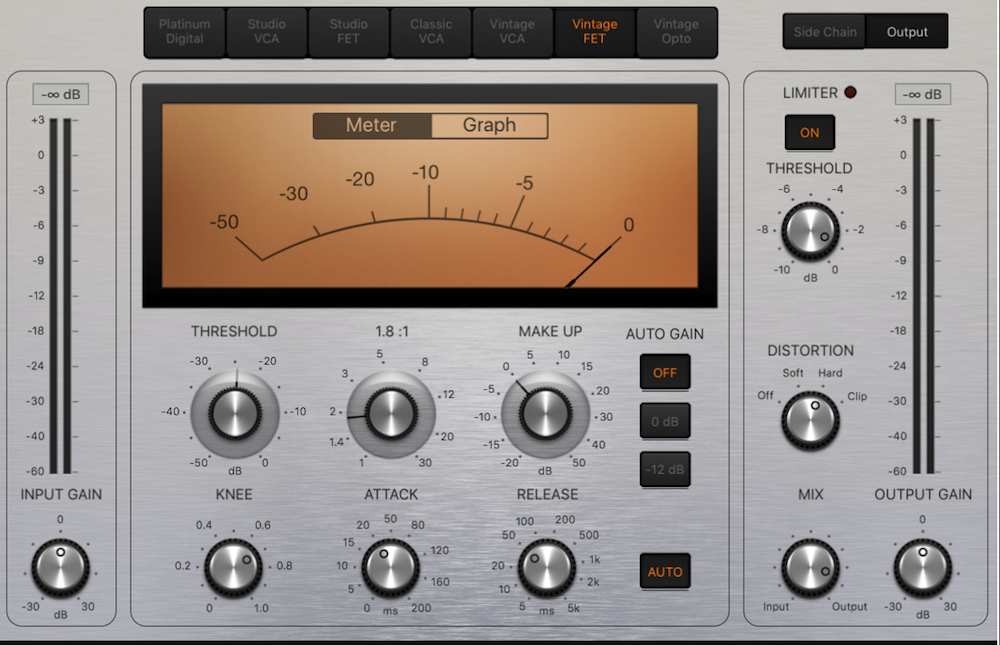
This concept can be a little hard to get your head around; I know it was for me. Put simply, this is a tool to squish your sound. It compresses the dynamic range of whatever it’s applied to; it can raise the lows and lower the highs. Frankly, it is a big topic, but one that’s absolutely worth learning the basics of when it comes to podcast editing.
Why? Imagine you have a person who usually talks very softly but occasionally laughs very loudly. In this situation, simply raising the volume fader to compensate for their quiet bits would make the laughter much too loud. What do you do? You put a compressor plugin on it!
___
A detailed explanation of compression is beyond the scope of this list, but it’s a powerful tool and one you should get started learning.
Here’s a good guide to kick things off.
5. Noise Reduction
Unwanted background noise in the voice recording is a wildly common problem for people editing podcasts, and noise reduction is the audio tool that most people reach for first to solve the problem.
In fact, by far, the most effective way to reduce background noise is to ensure you are minimising it to begin with. Switching to a dynamic mic from a condenser will help a lot. I’ve got some more information on that here.
When it comes to software noise reduction, my advice is go easy on how much of it you apply.
A bit of background noise with a natural voice is far preferable to the uncanny sound of someone talking with too much noise reduction. It sounds like the speaker is trapped in a cardboard box and can be tough to listen to.

6. Don’t Overdo it, Quincy.
A common beginner mistake with audio editing is to overdo the effects, be it noise reduction, compression, or whatever else. I get it, when we first see the world of audio editing open up to us, our eyes roll back in our head, and we go crazy. I’ve been there. The thing is, assuming you are not trying to make the next Dark Side of the Moon, effects are best thought of as effective tools to solve problems. The catch is, when they are pushed too far, they just introduce new problems. It’s a balancing act that’s all about finding the sweet spot where they help your sound without mucking something else up. We don’t want them to be noticeable.
Audio editing is a skill, and like any skill, its gets better with practice. Take it easy, especially when starting out, and always use your ears and a good set of headphones!
7. Invest in Some Good Headphones.
I also covered this topic in my article about how to improve your podcast’s audio quality, but it’s obviously no less relevant here. We’re in audio production and hearing what we’re doing with accuracy is the only way we can really be sure what’s going on in the mixes we send out.
There are plenty of good options for headphones, but you want to select one that is tailored for audio production. There are a whole lot of consumer headphones such as Beats etc. that are designed to make your music or game sound great by having tweaks to make the bass rumble etc. This is absolutely NOT what you need when you are trying to get a clinical read on your audio editing. We don’t want our mixes to sound good, we want them to sound accurate. So it is not about just spending a lot of money on fancy headphones, the wrong set could actually hurt your editing.
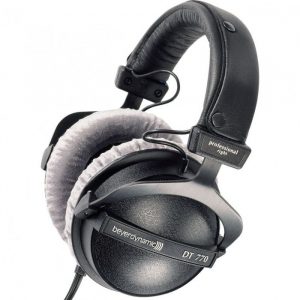
If you plan on doing a bit of editing in the future, my advice would be to just buy a set of Beyer Dynamic DT 770s and be done with it (no sponsorship). They are not overly expensive and going to be great for what you need while lasting decades. A much cheaper option to get started is AKG K52.
In conclusion, there are of course plenty more things to learn and areas to cover, but just starting with these simple tips should get you a long way towards a professional sounding podcast.
All the best on your podcasting journey and feel free to get in touch any time if I can be of service.
